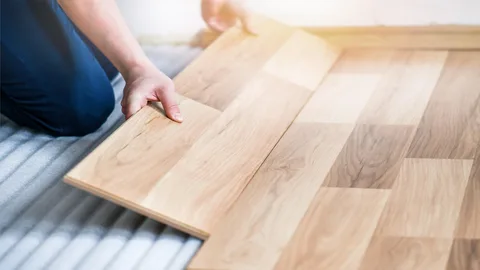
Installing laminate flooring is one of the most popular and cost-effective ways to upgrade your home’s appearance. Whether you’re remodeling a single room or your entire house, this flooring option is not only stylish and durable but also relatively easy to install yourself. In this article, we’ll walk you through how to install laminate flooring: a step-by-step DIY guide to help you complete your project confidently.
Why Choose Laminate Flooring?
Before we dive into the installation process, it’s important to understand why laminate flooring is a top choice among homeowners:
- Affordable: It offers the look of hardwood at a fraction of the cost.
- Durable: Resistant to scratches, moisture, and wear.
- Easy Installation: Click-lock designs make it beginner-friendly.
- Low Maintenance: Just sweep and mop regularly.
Now, let’s get started with your DIY flooring project.
Tools and Materials You’ll Need
Before you begin, make sure you have the following:
- Laminate flooring planks
- Underlayment (if not pre-attached)
- Measuring tape
- Utility knife
- Spacers
- Tapping block and pull bar
- Saw (circular saw or jigsaw)
- Pencil
- Safety glasses and gloves
Step 1: Prepare the Subfloor
The first and most crucial step in how to install laminate flooring: a step-by-step DIY guide is preparing your surface.
- Clean the floor: Remove any debris, nails, or staples.
- Check for level: Use a level tool to ensure the subfloor is flat. Fill in low spots and sand down high spots.
- Dry and stable: Ensure the subfloor is completely dry before installation.
Step 2: Lay the Underlayment
If your laminate flooring doesn’t come with an attached underlayment, roll out your chosen underlayment across the room.
- Overlap edges slightly (if directed by the manufacturer).
- Trim excess using a utility knife.
- Tape the seams for added stability.
The underlayment helps with soundproofing and moisture protection.
Step 3: Plan Your Layout
Before installing your first plank:
- Measure the room to determine the best plank orientation.
- Stagger the seams in a brick-like pattern for strength and aesthetics.
- Leave a 1/4-inch gap around all walls for expansion using spacers.
Step 4: Begin Installation
Here’s where how to install laminate flooring: a step-by-step DIY guide gets into action.
- Start in a corner of the room with the tongue side facing the wall.
- Click each plank into place using the locking mechanism.
- Use a tapping block and mallet for a snug fit.
- Continue row by row, staggering joints as you go.
Step 5: Cutting and Fitting Planks
Use a saw to cut planks for edges and corners.
- For odd cuts (around door frames or pipes), use a jigsaw.
- Remember to measure twice and cut once.
- Use a pull bar for the final row to ensure a tight fit.
Step 6: Finishing Touches
Once all the planks are in place:
- Remove spacers from the edges.
- Install baseboards or quarter-round molding to cover expansion gaps.
- Clean the surface and enjoy your new flooring!
Final Thoughts
By following these steps, you now know how to install laminate flooring: a step-by-step DIY guide that saves time and money. With the right tools, preparation, and attention to detail, even a first-time DIYer can achieve professional-looking results. Don’t forget to read the manufacturer’s instructions for specific tips related to your chosen flooring brand.

